
Parr 6672 Calorimetry Thermometer
Author: J. M. McCormick
Last Update: August 9, 2013
Set-Up
The calorimetry thermometer is shown in Fig. 1. Before beginning with the setup procedure, be sure that you have the power cable for the instrument, an internet cable and the temperature probe for the calorimeter that you will use (the bomb calorimeter probes are long and straight while those for the solution calorimeter are short and shaped like the letter L).
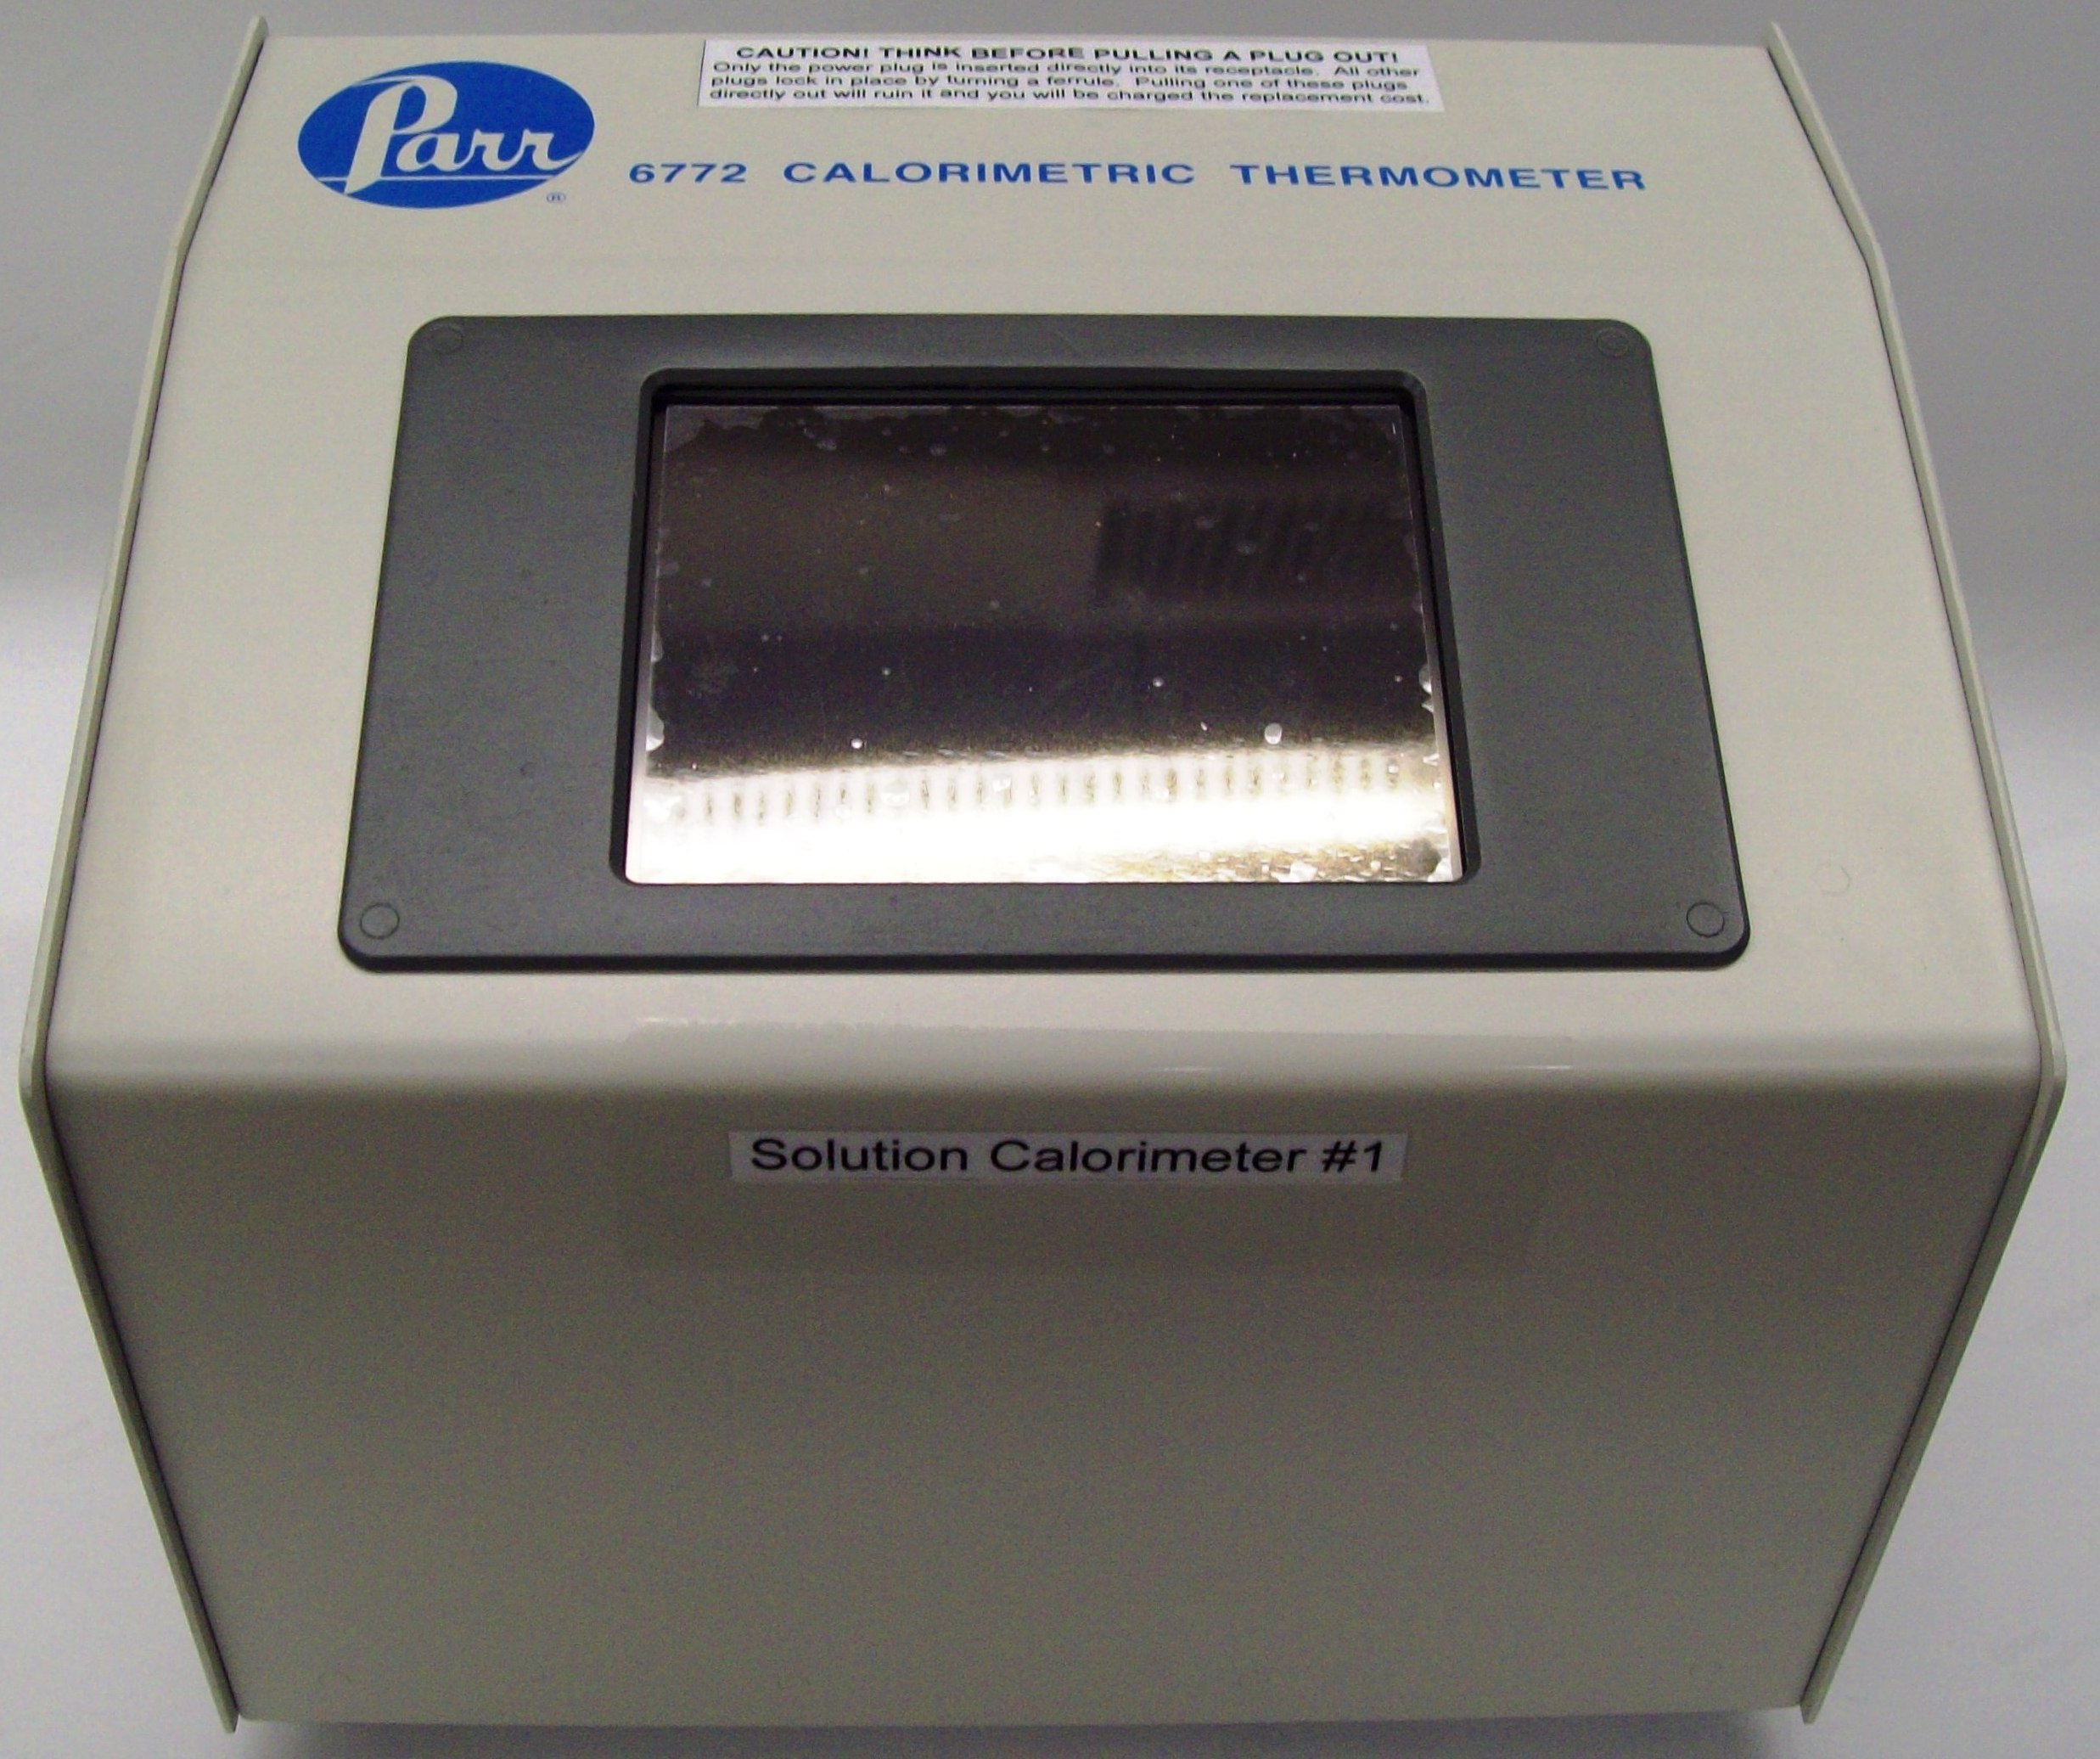
Figure 1. The Parr 6672 calorimetry thermometer.
The temperature probe should be connected to the calorimetry thermometer when you arrive. If it isn’t, plug it into the connection labeled Bucket on the back of the thermometer. IMPORTANT! The connection is made by inserting the plug and turning the ferrule until finger-tight. Do not over-tighten and do not attempt to pull the plug directly out of the socket without first completely loosening the ferrule. Connect the thermometer to a network jack using a standard ethernet cable. Attach the power cable, if it was not attached when you arrived, and plug the unit in.
If you are using either of the bomb calorimeters, or the older solution calorimeter, do not make any connections from the calorimetry thermometer to any other part of the bomb or solution calorimeter. For bomb calorimetry, you will be controlling the stirring motor and firing the bomb using the bomb’s original equipment. IMPORTANT! attempting to control the stirring motor for the bomb calorimeter using the calorimetry thermometer will trip the GFCI outlets and shut down the instrument. The only thing on the older (model 1451) solution calorimeter that one could control would be the stirring motor, and that is just as easily turned on/off manually. The newer solution calorimeter (model 6775) must be plugged into the calorimetry thermometer to operate. This is done by inserting the cord from the solution calorimeter into the plug on the back of the calorimetry thermometer labeled Motor (the plug fits in only one receptacle and fits in in only one way). IMPORTANT! The connection is made by inserting the plug and turning the ferrule untilfinger-tight. Do not over-tighten and do not attempt to pull the plug directly out of the socket without first completely loosening the ferrule.
Once all of the connections are made, turn on the thermometer and allow it to warm up for at least 20 minutes before attempting the first run. The remainder of the set-up steps may be done during this warm-up period. Note that the instrument is controlled by a touch screen. You may use either the special stylus that came with the instrument or your finger to activate the touch screen, but please do not use a pen or pencil to do so.
When the main menu appears, you will need to confirm various settings. First push theOperating Controls button and confirm that Method of Operation is set to either Bomb orSolution. If the wrong method is displayed, push the Operating Controls button to toggle between the Bomb and Solution selections. If you do this, you will have to restart the thermometer. When using the thermometer in conjunction with either of the bomb calorimeters or the model 1451 solution calorimeter this isn’t entirely necessary, but it does remove some unnecessary features from the Main Menu and prevents mistakes. With the model 6675 solution calorimeter it is essential that you set the thermometer correctly because you will be controlling the stirring action with the thermometer.
Return to the Main Menu and select Communication Controls. Under Network Interfacecheck that DHCP (Automatic setup) is On and that the Network Driver is On. If either of these was set incorrectly, press Restart Network. Once these are set correctly, pushNetwork Status and scroll up on the screen to the line that reads “inet addr: 150.243.36.15”. Note that the numbers (the instrument’s IP address) shown in this example are not those that will be dynamically assigned to the instrument by the network. You will need to check and record the thermometer’s actual IP address at the start of each day.
Operation
While this calorimetry thermometer has numerous features that will allow the operator essentially hands-off operation, you will, in general, not take advantage of them for pedagogical reasons (and because they are not supported by our older calorimeters). If your research requires some degree of automation, you are referred to the Parr 6672 Calorimetry Thermometer Operating Instruction Manual (copies of which are available in MG 1026). When running in the non-automated the bomb or solution calorimeter functions as it would have with a mercury thermometer or a Parr 1661 calorimetry thermometer (i. e., the operator initiates stirring, and then either fires the bomb or injects the sample into the calorimeter). The main difference between the Parr 1661 and the Parr 6772 is that the 6772 will automatically record the temperature as a function of time and allow the data to be ported directly to a computer.
To collect data in the non-automated mode, return to the Main Menu and selectDiagnostics. Select Data Logger and press Delete Data Log File, if you want to remove a previous operator’s file. Set the Data Log Destination to Logfile Only. Under Select Data Log Items only TI should be selected (this should record the temperature, but you will get some extraneous information anyway). For Data Log Format, either Data Format (CSV) or Text Format will work, but the CSV (comma separated values) format makes it a little easier when it comes time to import your data into Excel. The last parameter to set is the Data Log Interval, which sets how long the instrument will wait between data points (the default is 30 sec) and can be set however you please. It is advisable that you examine your data after each run and decide whether this rate is acceptable. Finally toggle the Data Logger to On. Note that once the data logging has been started, the temperature (and whatever else you chose to record) will be written to the log file until you turn data logging off or the instrument is shut down. Therefore, it is advisable that you only start logging data just before beginning a run and turn it off as soon as possible after a run terminates.
To recover the data from the calorimetry thermometer, start a web browser on a computer interfaced to the network. In the browser’s address line enter “ftp://root:rootroot@150.243.36.15/../flash/log/”, omitting the quotes, where the numbers will be replaced by the actual IP address for the thermometer that you recorded earlier. A list of the files on the thermometer in the log directory should appear. Double click on log.csv (if you saved the file as in CSV format). Note that file may have a different name (such as datalog.csv) depending on the specific instrument you are using, You will be asked what you want to do with this file, and perhaps which program you want to use to open it. The default is usually Excel, and that will be a good starting point. When the file opens the first column will contain the date and time (adjust the column width to view all of the cell’s contents, if needed), while the second should be the temperature. The other columns do not contain any useful information. Save this file to your Y: drive or a personal data storage device. Once the data has been saved, close the browser. Note that you will want to insert a column between the time and the temperature data and use Excel’s fill function to create a more useful time axis based on time interval that you selected.
Shut-Down
When you are finished for the day, turn off the thermometer and unplug it. Clean and dry the temperature probe. If the probe is to be returned to its storage location, disengage the ferrule and unplug the cord. IMPORTANT! Be sure to fully disengage the ferrule before attempting to remove the plug. Do not attempt to remove the cord by pulling on the cord itself; firmly grasp the plastic plug at the end of the cord and then gently pull the plug out. If you used the thermometer in conjunction with the model 6772 solution calorimeter, disconnect the calorimeter from the thermometer by unplugging it in this same way. Finally, if the thermometer will be stored, unplug the power cord from the back of the thermometer and carefully store it with the thermometer in the designated location.